How do Cotton Harvesting Machines Work?

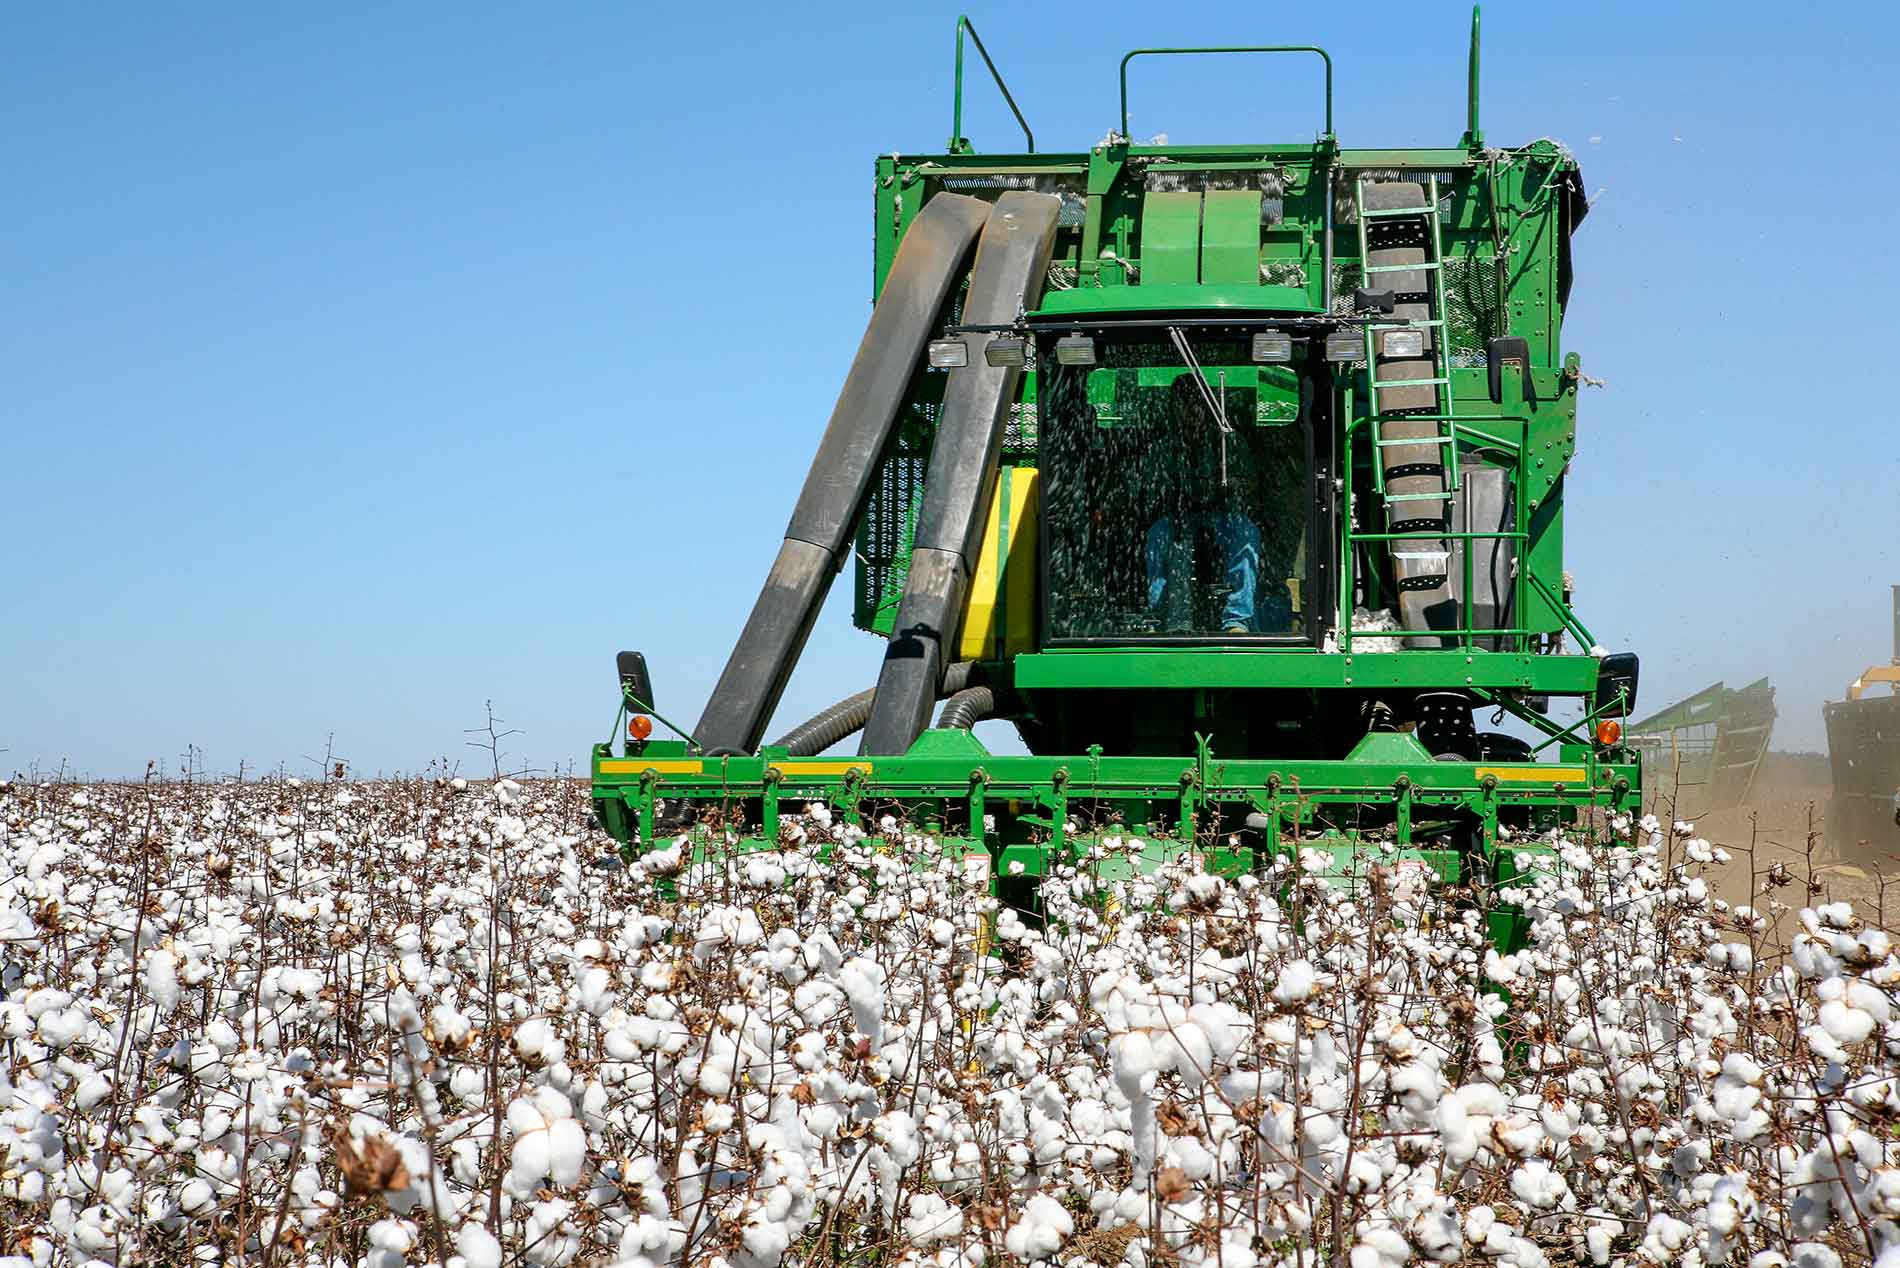
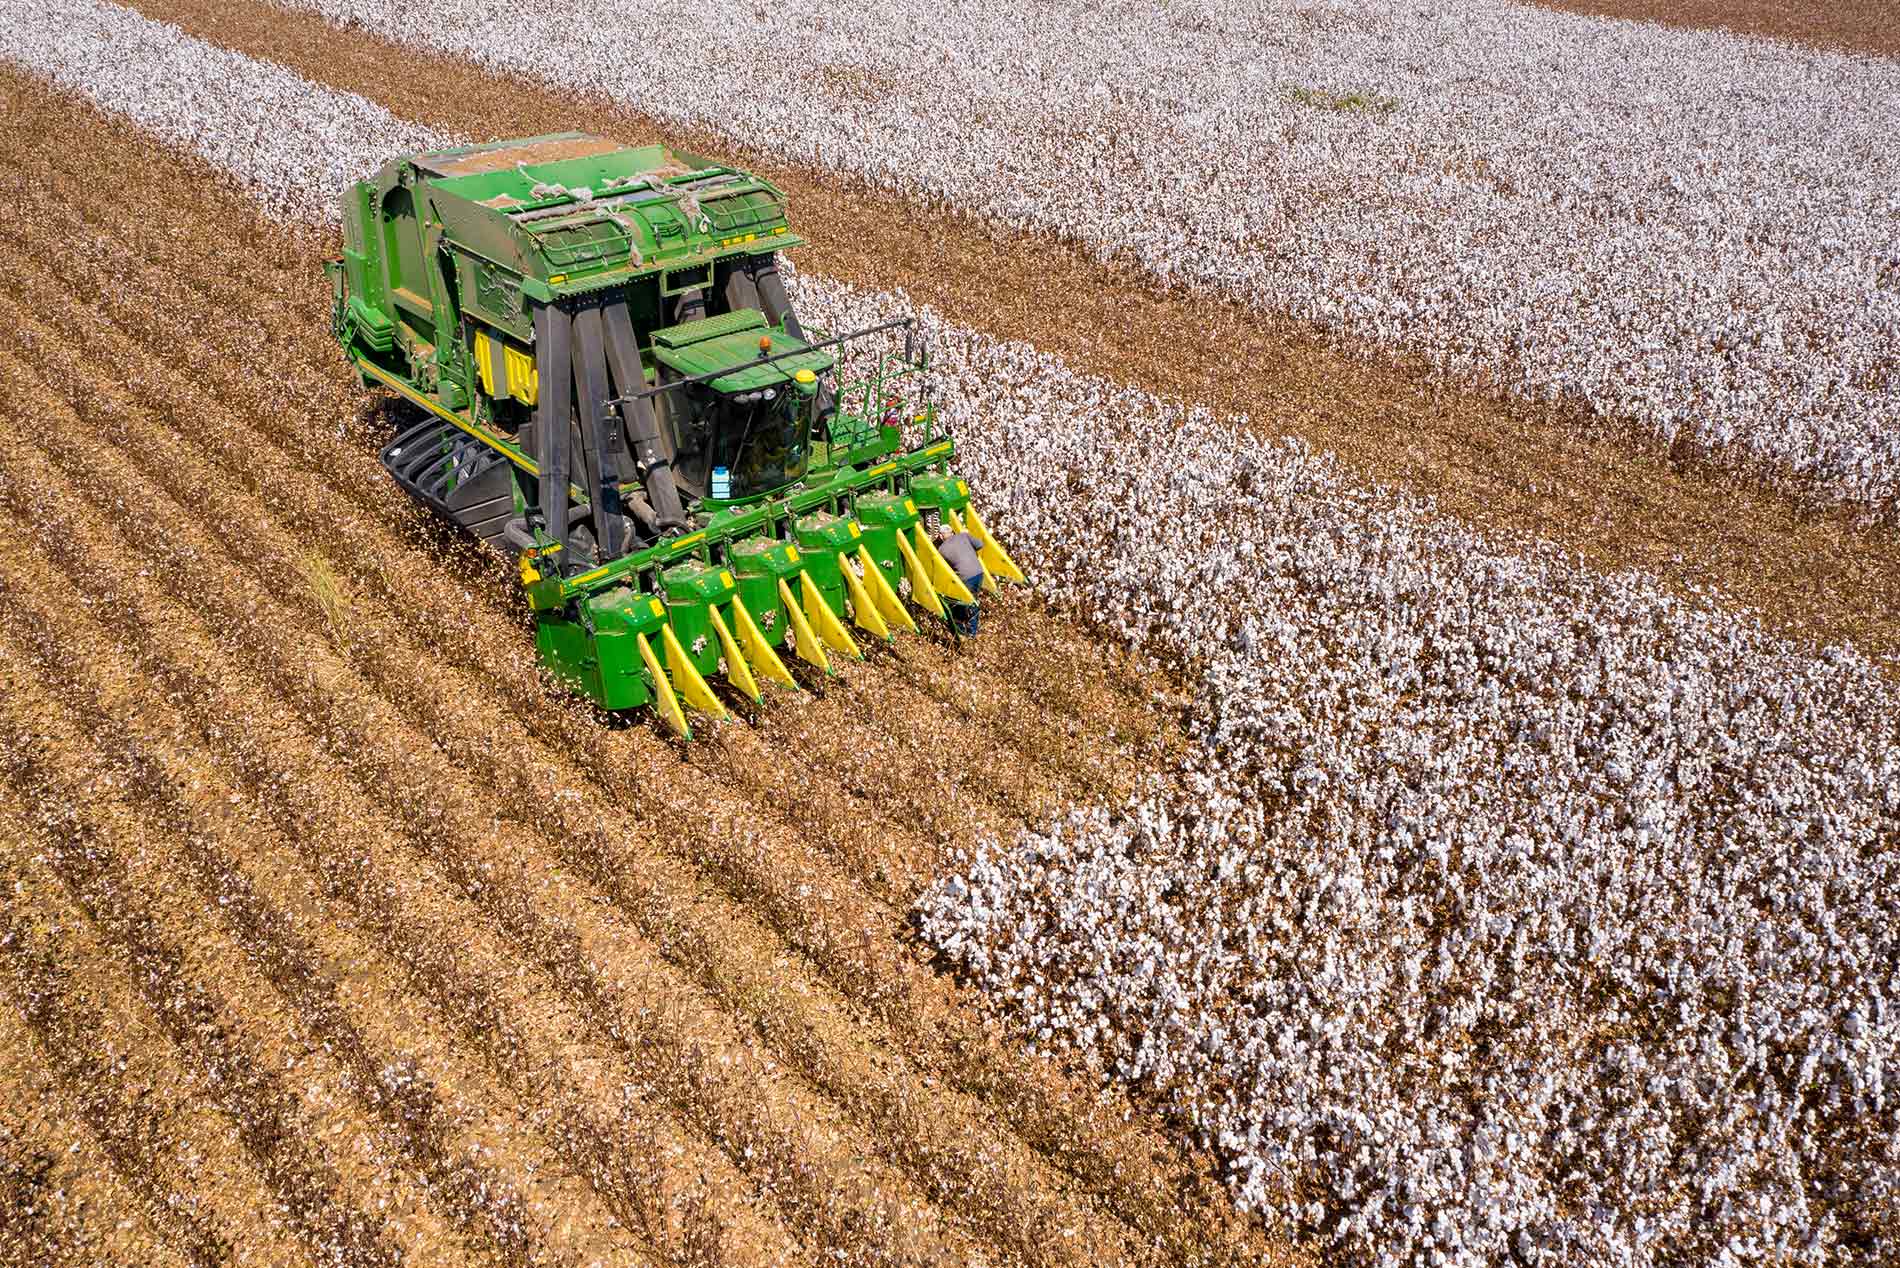
One of the most amazing things about cotton harvesting is how much it has changed in the past century. Since cotton harvesting is no longer done by hand (something that was the case until the turn of the 20th century), specialized cotton harvesting machines are used to separate the cotton fibers from the mature bolls. The machines used can be divided into a few different types for each stage of cotton preparation: namely, there are cotton pickers, cotton strippers, boll buggies, and finally module builders.

Cotton Pickers and Cotton Strippers

There are a few different types of cotton harvesting machines, with two general methods of removal of the fibers. 

A cotton picker removes the seed cotton from the burr by means of high-speed rotating spindles which extract the cotton from the open burrs of the plants which then wrap around moistened spindles. The spindles are then cleaned off by a specialized machine, known as a doffer, to extract the cotton that has been removed. This method is the cleanest method for extracting cotton, but it’s not the only one. 

In some cases, cotton strippers are used instead of cotton pickers, most commonly after the green vegetation has been killed off by frost. Cotton strippers use a roller method with bats and brushes which push the open bolls onto a conveyor belt, along with leaves and stems. In this case, the material has to be cleaned off by special devices at the cotton gin. 

In both cases, air is used to lift the seed cotton (which, by itself, is quite light) into a storage basket, to be transferred to a boll buggy. However, in the case of the cotton picker, the moist spindles are what hold the cotton in place. After the cotton is transferred to the boll buggy, the cotton picker or stripper is ready for more harvesting.  

Boll Buggies and Module Builders

Boll buggies are used to transport cotton to module builders once the harvesting is complete. Boll buggies come in a number of designs, and are designed to keep the harvesting machines effective by collecting what is being harvested, leaving the continued operation of the harvesting machines more efficient. 

A boll buggy has both the ability to collect cotton from the harvester as well as to carry the entire weight needed to be compacted on its side. Module builders are large machines that operate in a similar fashion to trash compactors. After the buggies load the cotton, the module builder then crushes the fibers to compact them into a cube. 

Module builders, first designed in 1972, are designed to carry loads of cotton weighing up to 10 tons. The history behind the module builder is itself surprising: after almost 100 years of mechanized cotton picking, the problem of cotton storage remained, as the dried material was prone to loose storage, making the dried cotton a cause of fires and losses for farmers, who had been storing the cotton in trailers up to that point. This virtually disappeared with the advent of the module builder.

After the cotton is compacted, the module builders take the cotton to a textile mill for processing or to a purification manufacturer. Cotton module builders presented a quantum leap in cotton transport, making even larger-scale cotton fiber production possible. A cotton module builder is up to 30 feet long and 12 feet wide! In some cases boll buggies themselves have built in compactors to make it even easier to collect and transport the extracted cotton, or to make for compact transport to the module builder.   

The Cotton Harvesting Process Today   

Cotton harvesting has undergone massive changes in the past 100 years thanks to the rise of technology. As cotton pickers and strippers were not in widespread use until the 1940’s, the first major quantum leap in the centuries-old practice of cotton harvesting is less than a century old, before which cotton had historically been harvested by hand. 

Just two generations ago, the problem of storage and fire which had plagued the cotton industry for hundreds of years ended with the advent of the module builder. Modern technology in the cotton industry, which started in the United States and is now used all over the world, has changed the world we live in, and these large, bulky machines are responsible for changing everything from the price to the accessibility of all the uses we make of cotton today, whether clothing or even the humble cotton swab. 

All of it started with a plant, and today, machines do all the work of bringing cotton from the field to the production facility.  

What Is the Cotton Growth Cycle?

If you’re in the business of growing cotton, one important thing to know about is the growth cycle of this successful commercial crop. There are a number of different varieties of cotton throughout the world, but not all are used for economic purposes. In the U.S., there are currently 14 states that are considered major cotton producers, mostly in the South and Southwest. Collectively, these are known as the Cotton Belt.

When it comes time to harvest cotton, you need a source for cotton picker parts that you can trust. Certi-Pik, USA is a leader in the industry because of our unparalleled expertise and high-quality products. Read on to find out exactly how the cotton growth cycle plays out.

Stages of growth

Cotton plants all have a time frame during which growth occurs. This begins with planting the seed in the soil. Under ideal conditions, the cotton seed germinates in under 10 days. Soon thereafter, two leaves appear on the seed, called cotyledons, which introduce the plant to the photosynthesis process.

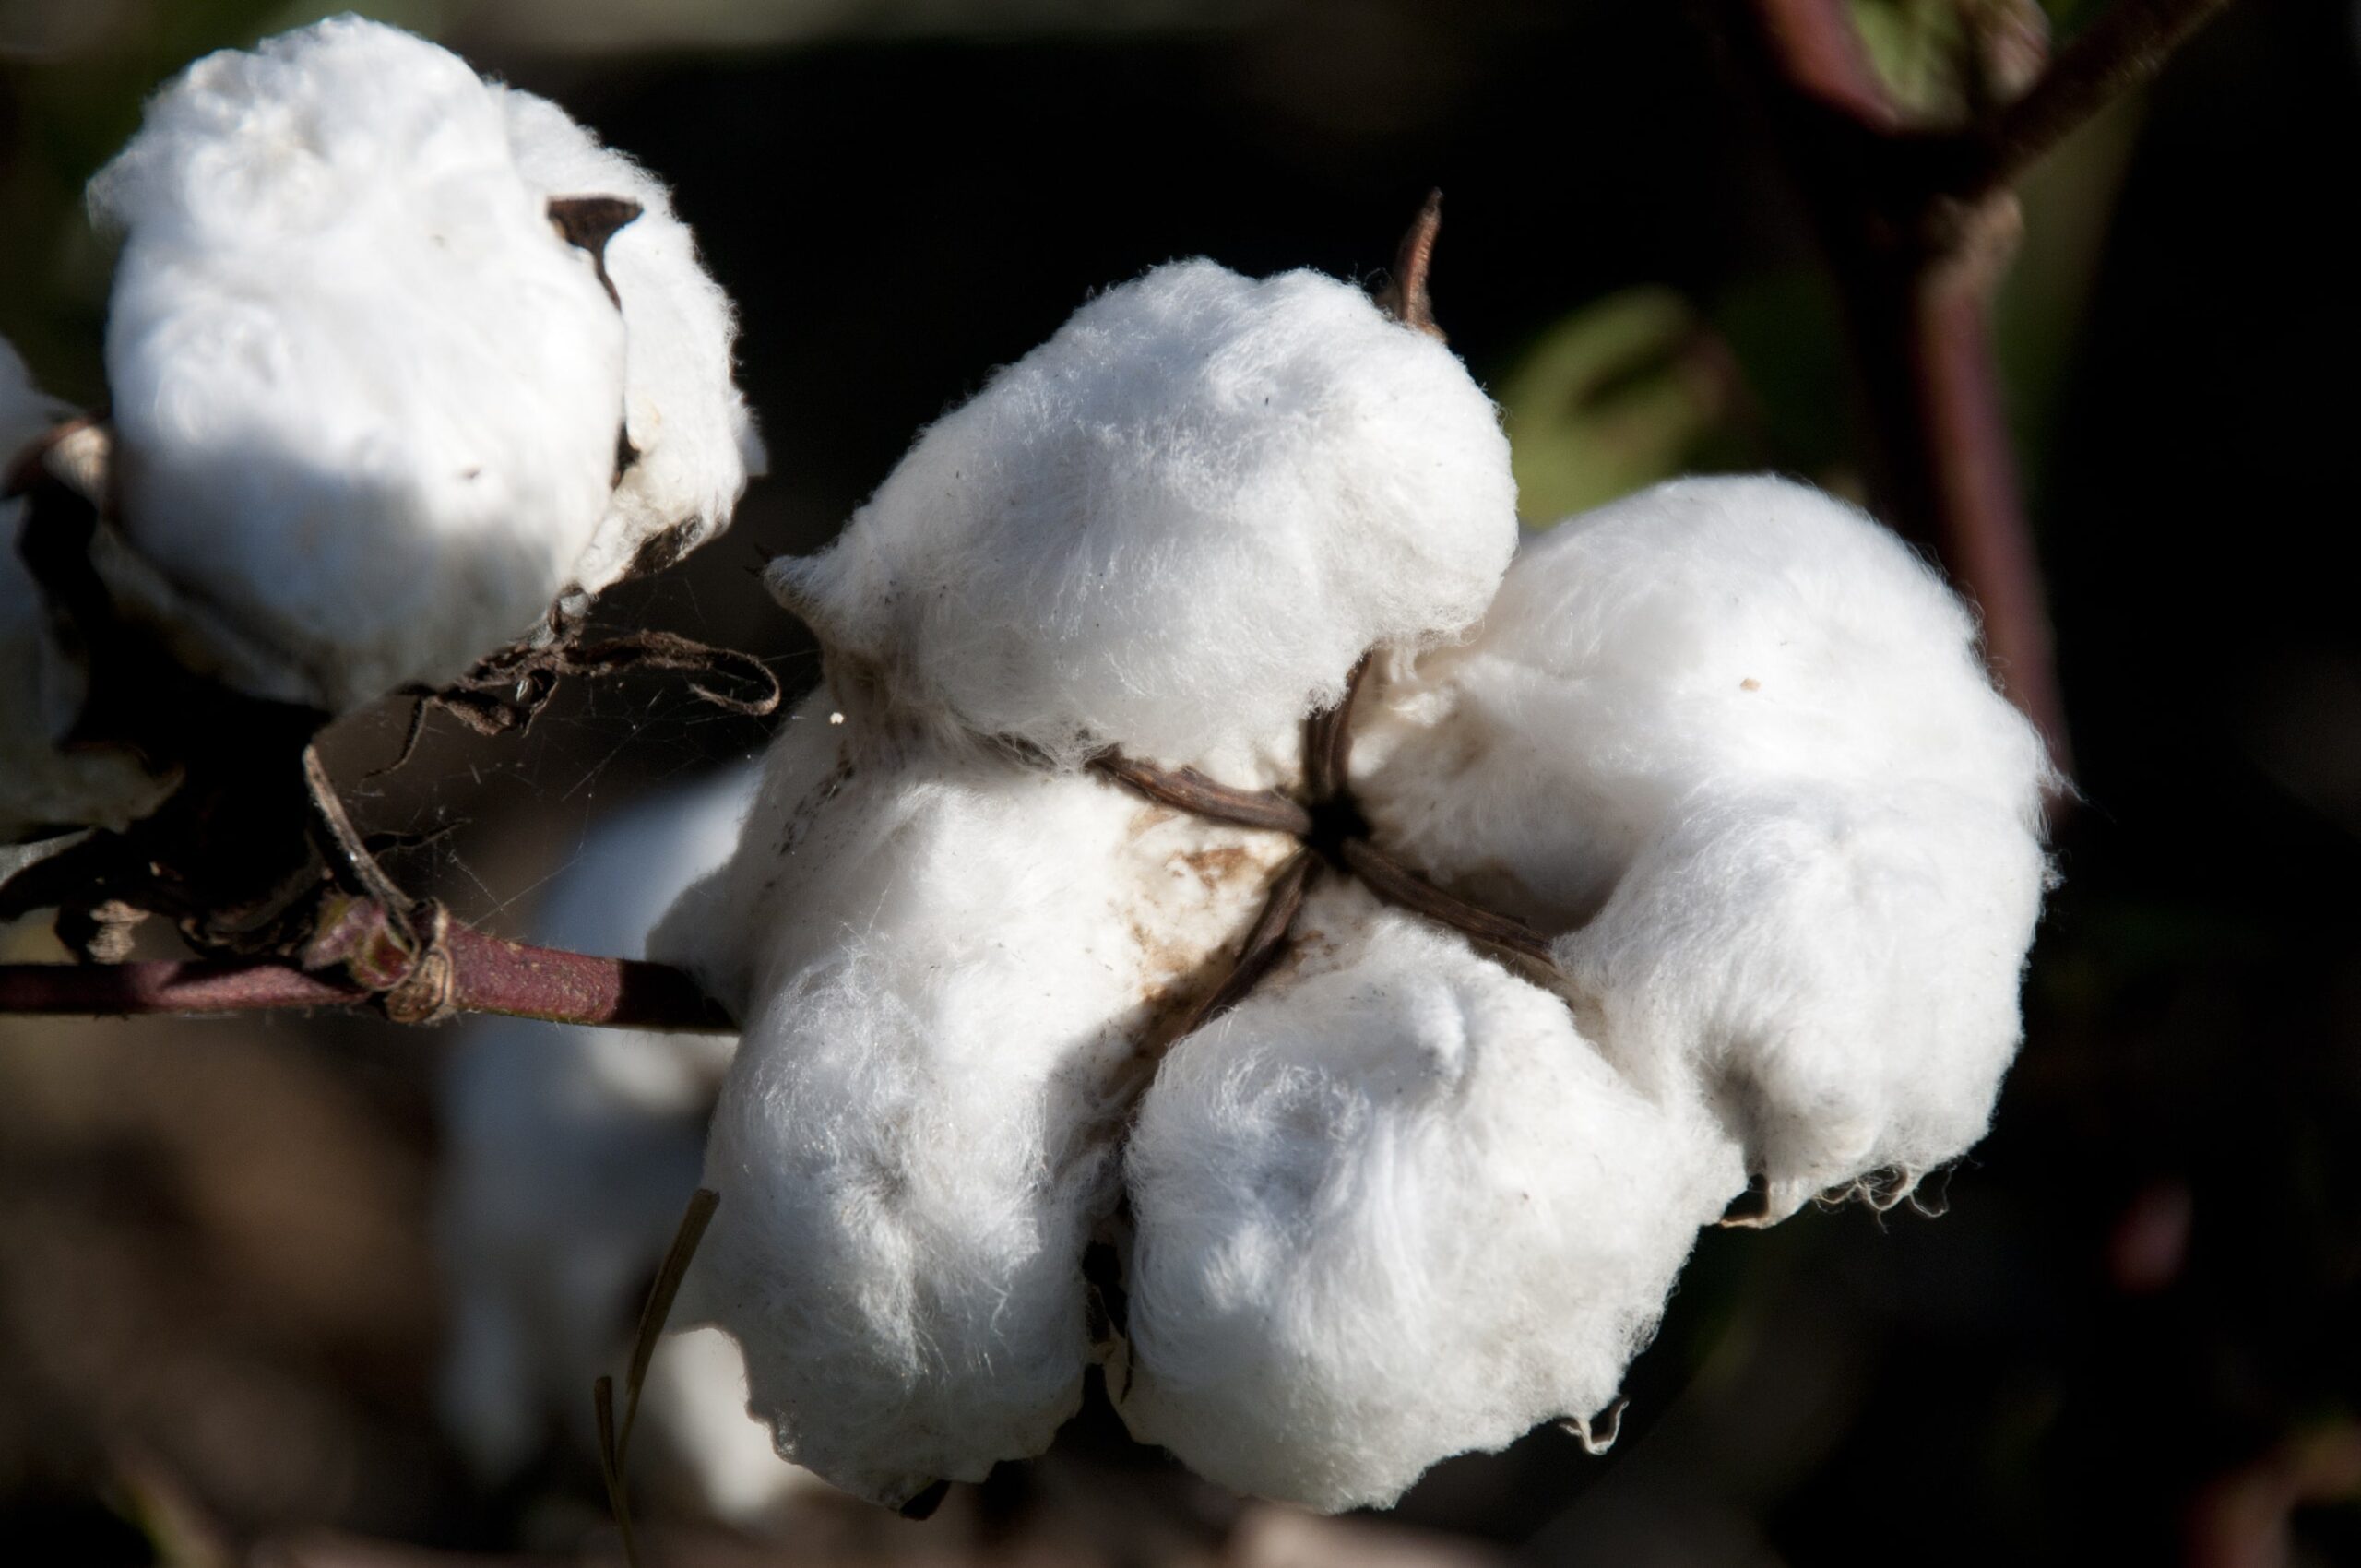
In the following weeks, these young leaves become true leaves and continue feeding the plant. During weeks five to seven, small flower buds appear. Then, within a matter of days, the flower will appear and pollinate. The last stage exposes the cotton boll, which is the white, fluffy part of the plant. This continues to grow, and each plant may have up to 100 bolls containing 500,000 cotton fibers.

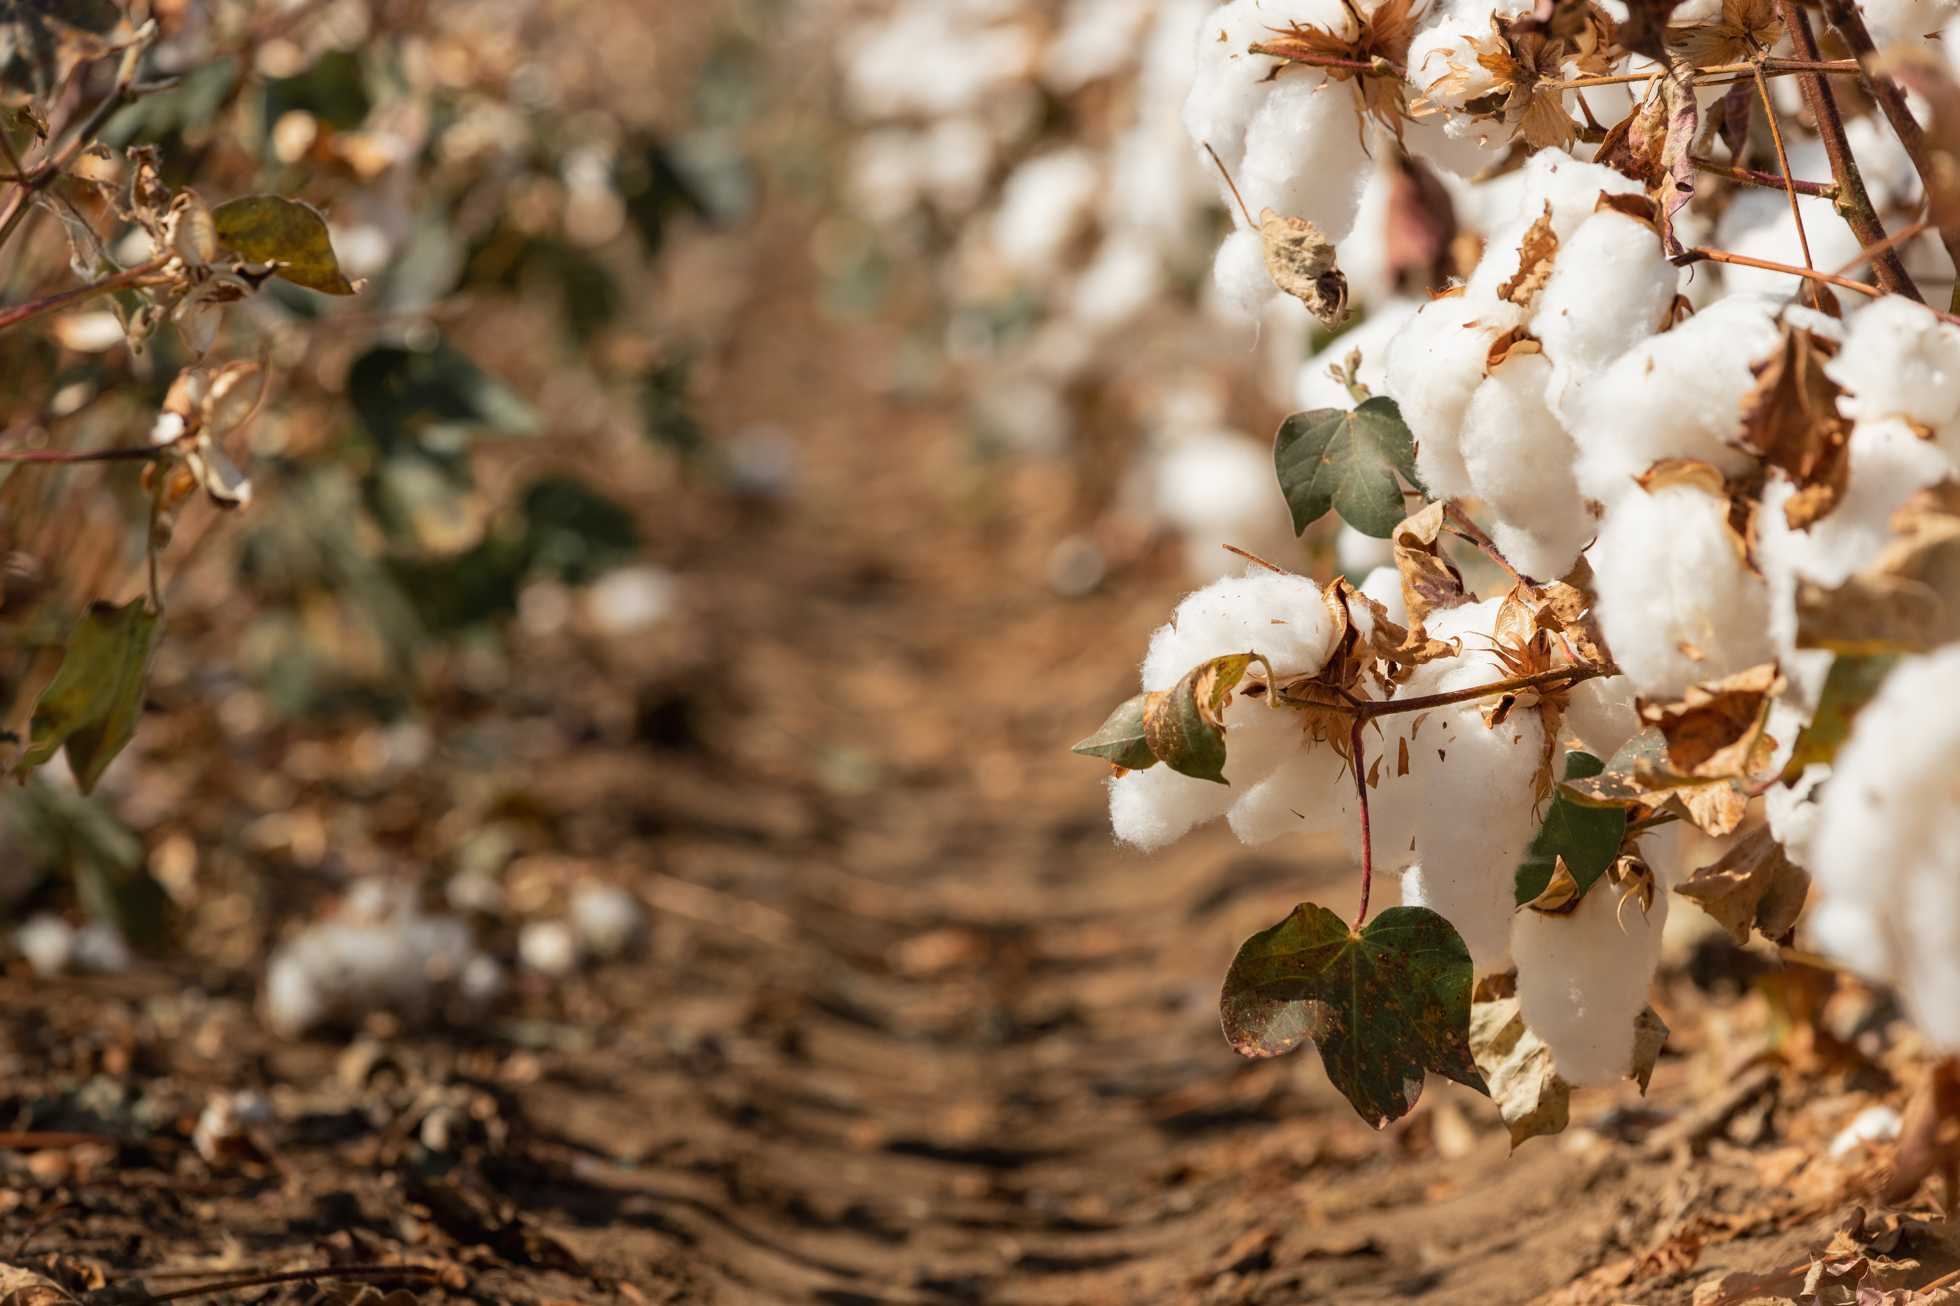
The bottom line is that after 140 days following planting, the cotton will split along the bolls and dry out. At this point, they’re ready for picking.

The right soil

It’s essential to grow cotton in soil conditions that are as close to ideal as possible. This can only be achieved through regular soil testing. The soil should be tested for its content of important nutrients and minerals like phosphorous, potassium, nitrogen and soil pH. A balance of these is necessary to spark the growth process. You may need to add fertilizer depending on the results of these tests.

It’s worth noting that weather and climate conditions have a significant impact on the chemical composition of soil. For example, significant amounts of nitrogen may be lost due to leaching and denitrification, which occurs in warmer, more humid climates. Also, different types of soil have varying moisture contents and may retain nutrients better than others.

When harvest time comes, you’re going to need cotton picker parts to haul in the crop. Certi-Pik, USA has been working with customers worldwide for more than 30 years. We have the best replacement parts in the industry and also sell a wide range of specialty items and sheet metal parts used in the cotton harvesting business.

Even the best machines will wear down at some point, which is why you need a parts supplier you can trust. We carry it all, including camtracks, drumheads, spindles and spindle nuts, picker and grid bars, slip clutches, lubrication hoses, stalk lifters, idler gears, CTX scrapping plates, CTX pressure doors and more. Give us a call today to learn more!

Reduce Your Harvesting Losses by Investing in Cotton Picker Parts

While harvesting losses are common, and in some cases out of your control, making sure that your cotton picker is in top shape is one way to ensure that you are able to produce a high enough yield to offset some of this loss. In order to do this, you will need to invest in high-quality cotton picker parts to buoy the type of efficiency needed to get that maximum yield. Here is a list of just a few of the parts you can target to improve the effectiveness of your cotton picker:

When you are in need of top-of-the-line replacement cotton picker parts from the best brands in the industry, make sure to contact the team at Certi-Pik, USA. Whether you are on the hunt for a specialty part to complete a rebuild, or you are looking for a standard part to keep your machine running, you can rely on our team to provide you with the high-quality cotton picker replacement parts needed for another successful harvesting season. With more than 30 years of experience, we are well versed in a wide range of various cotton picker makes and models. Give us a call today to learn more about our extensive inventory!

Get Your Equipment Ready: Preparing for Planting Cotton

Cotton farmers generally begin the planting season by late April in most places around the United States, though that can vary slightly from region to region. At the start of each season, it’s important for all cotton farmers, no matter the size of their operation, to make sure their equipment is ready to get the job done as efficiently as possible, and to engage in thorough planning to aid in that process.

Here are some of the things to consider at the start of each cotton planting season.

Maintenance

Take care of all the basic maintenance issues for your planting equipment early in the season, before you actually get out into the fields. Double check all the bearings, discs, vacuum systems, chains and plates on your planters to make sure none of them are damaged and that everything is in good working order. If you do have any cotton picker parts that are damaged or have some significant wear and tear on them, then it’s important to replace them as soon as possible, before you begin planting. This will help ensure you complete the planting process with efficiency and precision.

Be sure to check the seed tubes. In some cases, these can get plugged up as a result of a buildup of debris and insects. Take whatever steps are necessary to make sure those delivery tubes are clean, allowing for a free flow of seeds. Otherwise you run the risk of not getting the seeds planted with the proper distribution, which could make for a poor crop.

Analyze the fields

Before you begin planting, you should perform a careful and thorough assessment of each field. The variations in the soil and moisture can affect how you adjust your planter. It’s important to have a good seed-to-moist-soil contact level, especially in the zone immediately surrounding the seed you plant. If there’s too much dry soil that gets removed from the planting zone, then there’s a good chance you could experience some hard crust forming behind the planter, especially if you’re dealing with environmental challenges such as wind, high temperatures and low humidity that already dry out the soil.

This isn’t as much of an issue with today’s planters as it used to be, but it’s still something you’re going to want to take into consideration. You can adjust by making sure the soil is properly moist at about a couple inches deep. Otherwise you’ll find it harder to get a good planting for the year.

Another environmental consideration to keep in mind is the temperature of the soil at the time of your planting. A good standard is to look for a soil temperature of 65 degrees at about four inches below the surface.

For more information about what you should analyze before you begin the process of planting your cotton and how you can prepare your equipment and ensure you have all the necessary cotton picker parts for the process, we encourage you to contact the experts at Certi-Pik, USA today!

Tips for Servicing Your Cotton Picker Throughout the Season

Regular cleaning and servicing of your cotton picker parts will help ensure the long-lasting quality performance of the machinery. It’s important to stay on top of your ongoing maintenance all season long to get reliable operation out of your equipment. Here are just a few tips to help you accomplish this.

Check fluids

Before you start your cotton picker’s engine for the first time each day, you should do a quick check of some of the most important fluid levels in the machine, including engine oil and coolant. Like with any other type of machine, it’s important to change the oil as needed so you can be sure the engine is properly lubricated and that it doesn’t work harder than it needs to. Changing your oils produces better efficiency and better results.

Washing

Washing your cotton picker with water is one of the easiest ways to keep it clean. You can use either low- or high-pressure washing solutions.

Low-pressure water from your own hose or other convenient water systems can help you spray debris away from the row units. This is an effective method of cleaning those units off, but if you have larger, multiple-row pickers, it might take a pretty good chunk of time to get this job done. It will also get the ground wet around the picker, which could turn into a safety issue if you’re not careful.

You can use a pressure washer to even more effectively remove debris and grease in row units. This is much faster than hand washing or using low-pressure washing solutions, but you need to be careful that you don’t damage the machinery at all with the high-pressure water stream. If you’re not careful with how you use the pressure washer, you could damage seals, mess with some of the wiring or even push dirt and water down into some important bearings and other parts of the machine. In addition, you should always wear protective gear any time you’re using a pressure washer with a picker. Protective eyewear and clothing can help you avoid issues caused by splash back. Never, ever direct a pressure washer toward people or animals.

Air cleaning

You can also clean your cotton picker parts with pressurized air. High-volume and high-pressure air can be quite effective at removing buildup of debris and lint from your cotton picker, and lower-volume compressors can also be effective in some situations with the proper type of nozzle. The volume you use influences the cleaning power.

With any of the above methods of cleaning or servicing a cotton picker, be sure to wear protective equipment, including gloves, boots, eyewear, long pants and long-sleeve shirts, hearing protection, a dust mask and a respirator. Once you’ve finished cleaning the picker chassis, you can clean the lights, cab glass and other cotton picker parts as needed.

To learn more about the steps you should take to keep your cotton picker in great condition all year long, we encourage you to contact the team at Certi-Pik, USA today with any questions.